


A Guide to Assembling Foldable Gift Boxes (For Retailers and Consumers)
2026-09-21
Introduction
You have just received a shipment of flat foldable gift boxes. They look like a pile of cardboard with strange shapes and creases. How do you turn this flat sheet into a beautiful, three-dimensional box? While it may seem like a puzzle, the assembly of a foldable gift box is a simple, repeatable process that anyone can master in minutes. This guide provides step-by-step instructions for the most common types of foldable boxes, along with tips and tricks for speed and efficiency.
The Standard Tuck-Top Box (The "Pillow" Box)
This is the most common foldable box. It is often used for clothing, soft goods, or small gifts.
Unfold the Box: Lay the box flat on a table. You will see a large rectangular shape with four side flaps and a lid flap.
Fold the Sides: Take the two long side flaps and fold them upwards 90 degrees.
Fold the Ends: Take the two short end flaps and fold them upwards.
Interlock the Corners: This is the tricky part. The end flaps have tabs that fold inward. You need to tuck the long side flaps into the slots created by the end flaps. The box will "lock" into place.
Close the Lid: The lid flap folds over the top. It usually has a tuck-in flap that secures it inside the box.
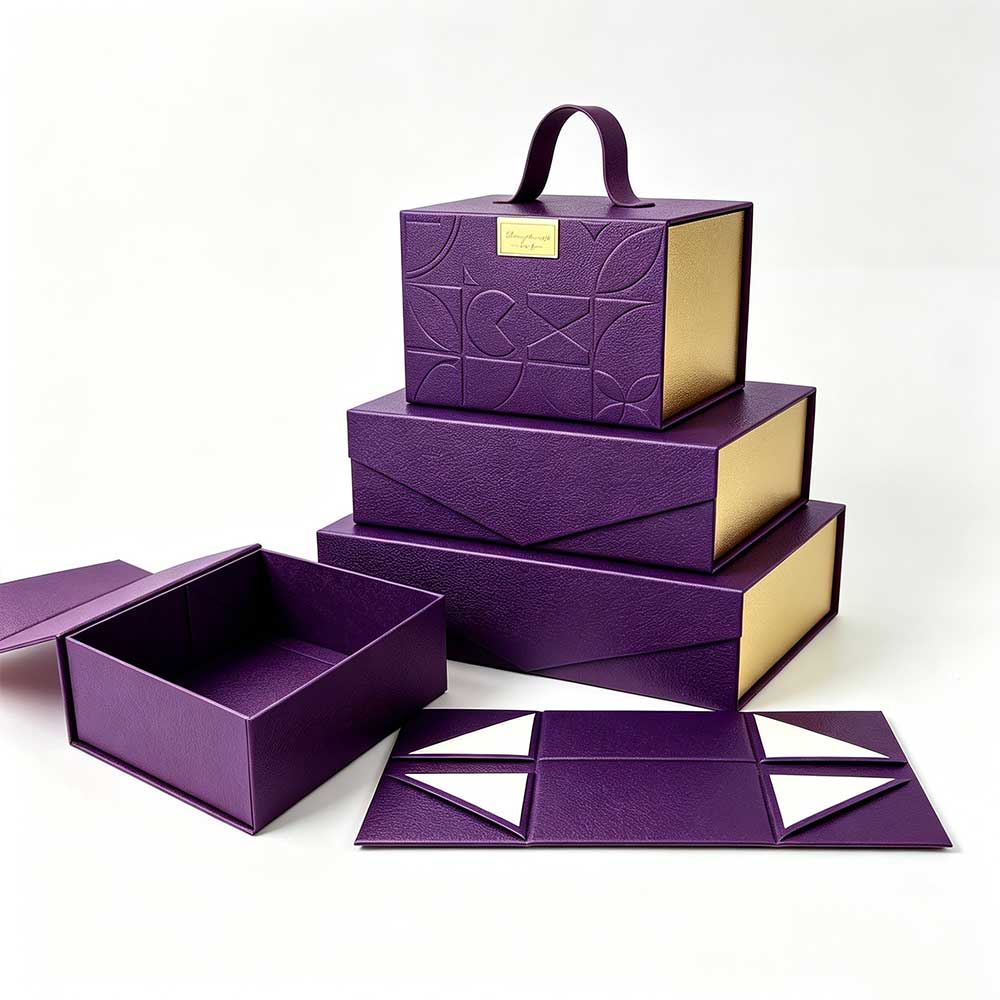
The Collapsible Rigid Box (The "Luxury" Box)
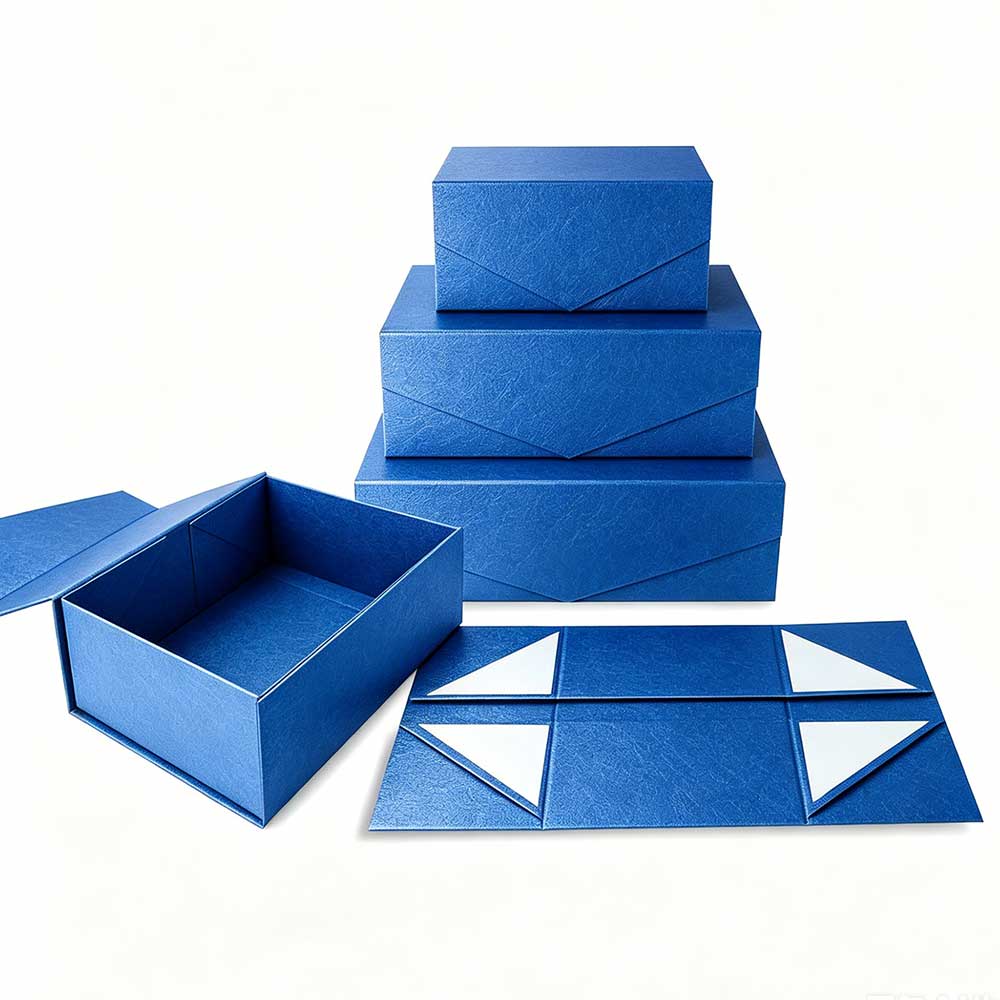
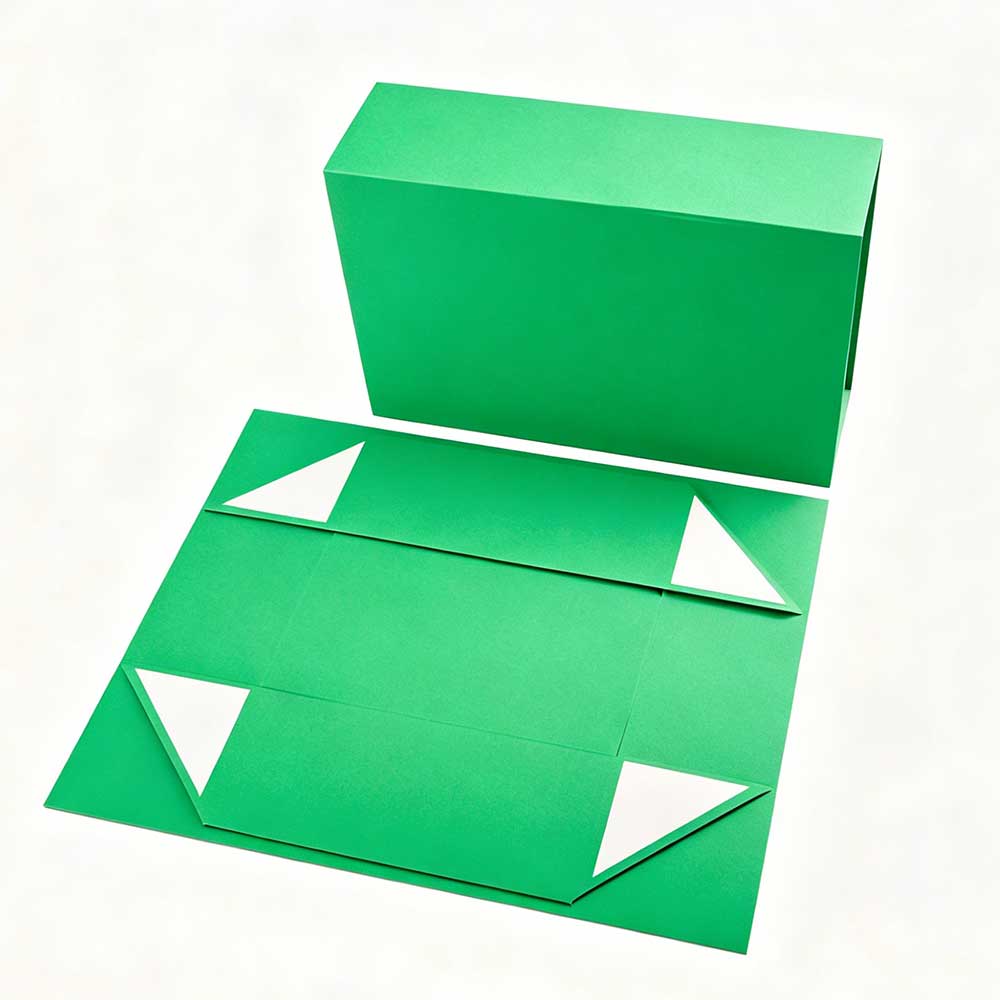
This box looks like a rigid box but collapses flat. It is often used for jewelry or electronics.
Open the Box: Start with the box flat. The base and lid are usually connected by a hinge.
Push the Sides: Place your hands inside the box and push the sides outward. The box will "pop" into shape. You will hear a satisfying click.
Secure the Base: Some rigid foldables have a bottom panel that needs to be folded down and secured. Look for a tab that tucks into the base.
Close the Lid: The lid is usually a separate piece or attached by a hinge. If it is a separate lid, it will also pop into shape. If it has a magnetic closure, simply let the magnets snap together.
The "Crash-Lock" Bottom Box
This box is common for shipping and gifts that need extra strength.
Open the Box: The box will be flat. The bottom has four flaps.
Fold the Sides: Fold the four sides up.
Interlock the Bottom: This is the "crash-lock." You will see two flaps with tabs and two flaps with slots. Fold the two flaps with tabs down first. Then, fold the flaps with slots over them, tucking the tabs into the slots. The bottom will be flat and strong.
Tips for Speed and Efficiency (For Retailers)
Pre-Fold: Before a busy season, pre-fold the boxes and stack them. They will hold their shape.
Use a Jig: For very small boxes, a simple wooden jig can help hold the box open while you fold.
The "Snap" Method: For collapsible rigid boxes, hold the box by the corners and snap your wrists outward. The box will pop open instantly.
Conclusion
Assembling a foldable gift box is a skill that improves with practice. Once you understand the mechanics, you can assemble a box in seconds. This transforms the task from a chore into a satisfying part of the gifting process. For retailers, efficient assembly means better customer service. For consumers, it means the joy of creating the perfect package.
recommended for you
Get in touch with us